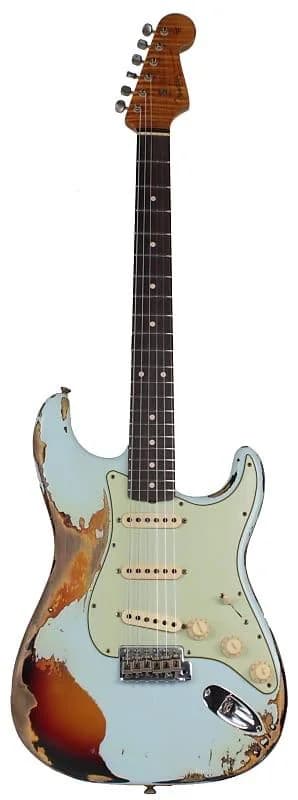
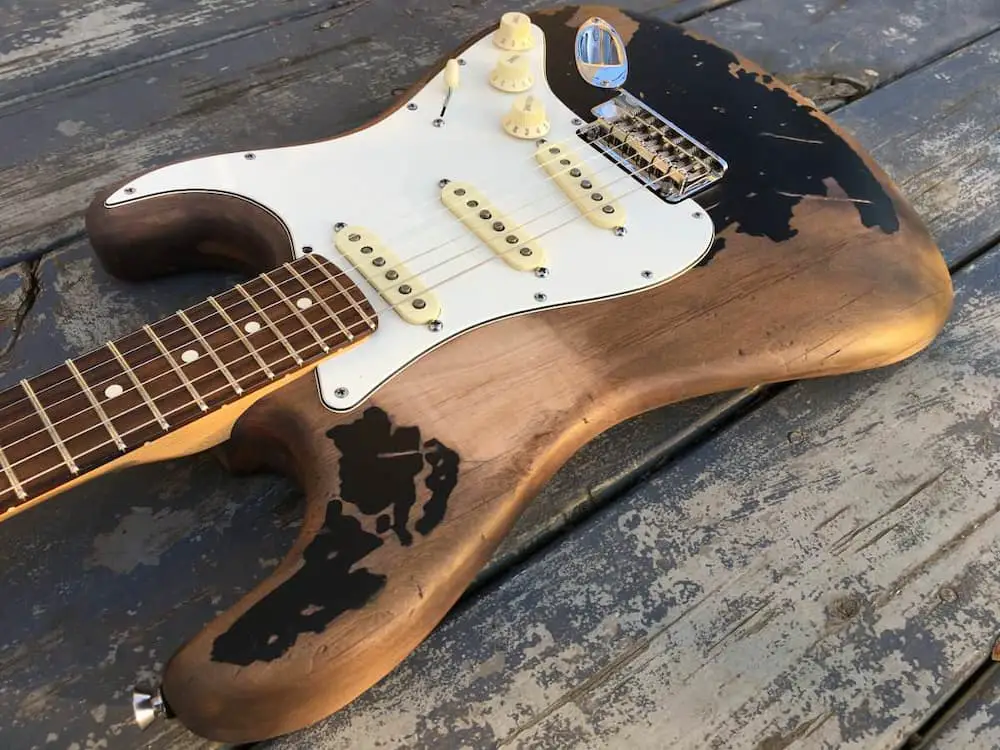
Getting The Beaten Up Look
Relicing guitars are in line with the current fashion for shabby chic interior décor. Ageing guitars has been about making new or relatively recent electric guitars look like beautiful old, used and well-loved vintage guitars. The idea is to make the electric guitar look like it’s been heavily used for 40+ years. Sometimes this effect is often called ‘road worn’.
Original vintage guitars from the ’60s can sell for £10,000, because of their historical value as well as its aged relic finish. Getting your hands on a genuine, reliced Stratocaster is next to impossible unless you have deep pockets, as these guitars are a highly desirable object. Although road-worn guitars typically cost more than standard-looking guitars, they’re still a lot less than the ancient originals, that have worn naturally over the years.
Due to Fender relicing a guitar can cost a lot of money, as it’s carried out by the masters themselves. The good news is that you can do it yourself.
How To Relic An Electric Guitar
You mightn’t want to practice relicing your favourite guitar, just in case, it goes horribly wrong! Instead, it’s best to pick up a cheap second-hand guitar at a junk shop, antique emporia, charity shop or online and hone your skills before letting yourself loose on your favourite instrument.
Does Relicing A Guitar Change The Sound?
Because the material of the guitar’s body and pickups remains the same, the sound of your guitar shouldn’t change. At the same time, if it’s a cheaper guitar, sadly it won’t sound any better. However, you can upgrade the pickups to more ‘rustic’ or ‘vintage’ sounding ones, giving your guitar the look and sound of a killer axe. On the positive side, the sound of the guitar shouldn’t change.

Step 1 – Making The Wood Look Older
The good news is that the guitar’s body, neck and headstock are easy to age. Manufacturers do it to their guitars by enhancing the varnish’s ‘fraying’, usually with a very fine grit sandpaper. While it’s simple, you’ll need some patience.
So, where do you carry out the distressing? The natural appearance of wearing occurs wherever the act of playing, storing, or transporting the instrument causes damage. There’re plenty of examples that you can find online, or you could make a note of the effects your own style of playing has on various areas, for example:
- Where your hand rests on the body
- Where your fingers habitually rub the neck
- Either side of the strings
- The lower part of the guitar, where your arm rests when playing
- Just below the pickups, where your pick wears the lacquer away
- Around the control buttons
- On the neck, between the frets
Before beginning, take all the metal parts off and, if at all possible, remove the neck altogether.
Many guitars are coated with polyurethane lacquer, some are coated with nitrocellulose, which is thinner and helps the guitar resonate. You’ll need to remove this varnish in the places you want to create wear. As many finishes are sensitive to sunlight and temperature differences, you can stand the body in the sunlight after you’ve carefully sanded the surface. When it’s hot, you need to quickly cool it down. You can do this by using a freezer if you’ve got one big enough. Repeat this process until the finish starts to crack.
Alternatively, you can simply heat the parts of the body you want to look old with a hair dryer, then cool it fast using a compressed air spray. Don’t worry if you hear a crack, as it means the process is working as it should. It’s important to keep in mind that it’s a bad idea to do this with the neck attached because you might bend it, which could potentially be expensive to fix.
Once you’ve achieved the level of distress you want, rub the instrument down with a damp cloth. While the un-lacquered parts will soon get grubby through natural wear as you play, you could use a dirty cloth which can help give the finish instant personality.
Step 2 – Distressing The Metal
While you don’t need to distress the metal parts, it does go a long way towards creating an authentic relic look. To begin, remove the metal from the body. Then get busy creating damage. You can hit the metal parts with an object like a brick or stone, or even use concrete to pit the surface and create a key for dirt to accumulate. Scratches can look good, exposing the metal underneath the shiny plated finish.
You can remove the shine off with either using a fine metal file, wet sandpaper or steel wool. If you want to take things a little further to achieve more of a dramatic look, you can dip them in bathroom cleaner, which is abrasive and often acid and eats away the surface beautifully. Remember to monitor the progress regularly as you don’t go too far. As twelve hours isn’t uncommon, this part takes some patience. Once you’re happy with the result, simply rinse the parts with soap and water.
Step 3 – Distressing The Plastic
This is probably the easiest bit. First, take the plastic parts off the guitar body, including the pickguard and pickup covers if you like. Then make random scratches and marks with a pair of scissors or a screwdriver, which will create places where dirt can accumulate.
Many guitar pickguards have two or three layers, usually in different colours. So, by filing or sanding down the top layer will show through the layers below – an enormously satisfying process.
White plastic can look great once it turns yellow – a sure sign of age. After sanding the surface, you can achieve the effect with a small amount of dark solvent-based wood stain, like Morrells Light Fast Wood Stain. Put a dot onto a cotton rag or paper towel. Clean off the excess with a clean cloth which should leave a subtle stain that sits in the scratches you’ve made. Then add a coat of Morrells Nitrocellulose Spray Lacquer to seal and complete the yellow look.
After doing all of this, leave everything to dry for a couple of days to make 100% sure it’s ready, strong and durable. You can then re-assemble your electric guitar and you’re ready to play.
How Far Should You Go?
It comes down to personal preference, so you can be as subtle or extreme as you like. You can go your own way and get creative as you like, or take a leaf out of Stevie Ray Vaughan’s infamous book and create a copy of his knackered-looking and highly desirable, beat-up Number One Stratocaster, which looks so worn people are amazed that it’s still functional. As previously said, the look doesn’t affect the sound. In fact, the wear can often deliver that unique personality that so many guitar lovers envy. You can make your own relic-ed Les Paul or relic Strat, distress an acoustic instrument or age an electric guitar, create guitar bodies with subtle or dramatic wear… The world is your oyster and once you’ve got the basics under your belt, it’s immensely satisfying. There are people who make a great deal of money out of it, it may even provide you with an extra income if you discover that you’ve got a hidden talent for making new and boring-looking models look just like vintage guitars.
