5 Steps For Making A pedalboard From Cutting Board
Having a foot pedal is necessary for guitarists to control their effect units and amps from the floor.
Foot pedals can also be used as an expression pedal to control volume or modulation, giving more control over the sound of the guitar.
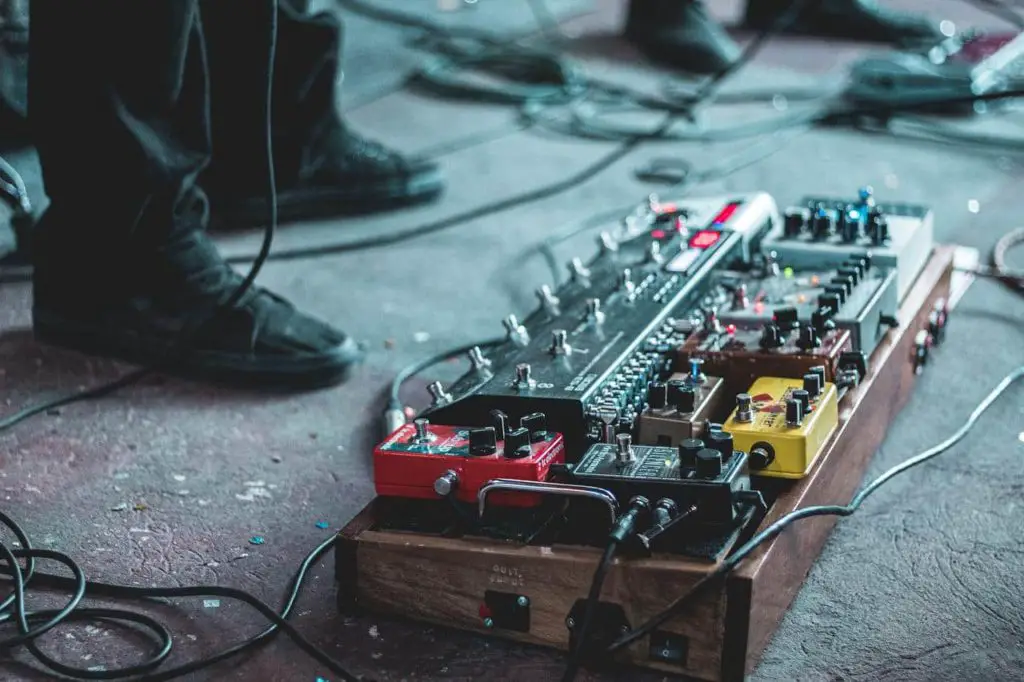
If you want the sound of your guitar to be more unique, then having a pedalboard with different effects and pedals like distortion, delay, and reverb is definitely needed
Having a pedalboard also makes it easier for guitarists to access all of their effects easily without them being scattered around on different surfaces with cables running everywhere, which limits movement on stage or during practice.
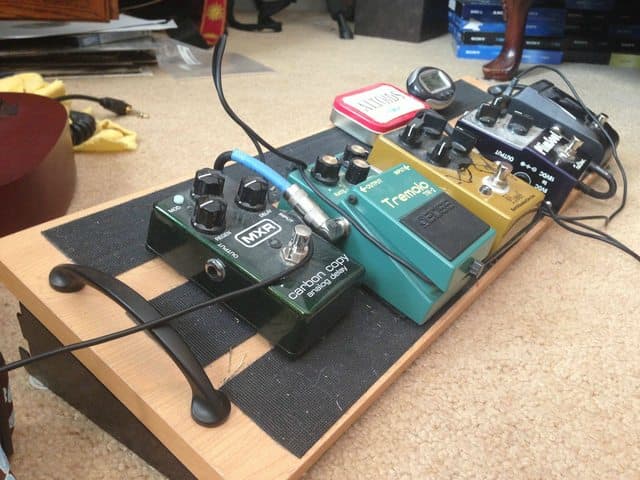
A DIY pedalboard made from a cutting board can be used with the function of having different pedals connected to it. The DIY pedalboard can let you switch between “effects” or sounds for your guitar, for example, Overdrive -> Distortion -> Flanger -> Chorus.
This quick guide will show you how to make your own DIY pedalboard from a cutting board, but keep in mind that some may consider this to be a fairly advanced project. You’ll need lots of tools and skills, although the result is worth it!
If you don’t want to pay an absurd price for a piece of aluminum that you’ll just step on then this easy project may appeal to beginners, DIYers, and professionals, and all you need to do is to take a trip to your local hardware store!
What you’ll need:
- Drawer handles x2
- Wood cutting board
- Velcro Strips (5ft roll)
- Adhesive rubber feet
- Scissors
- Screwdriver/drill
- Paint (Optional)

Step 1: Planning
Depending on how many pedals you want to use and the size of each guitar pedal, you may want a larger/smaller board. Before starting, lay your pedals out first, taking into consideration enough room for the power supply and patch cables to get a rough estimate of what size of a cutting board you need.
Step 2: Dry Fit
Once you have all the materials you need, lay everything out on the board — pedals, handles, cables, etc. It’s okay if there’s extra room! As you’ll probably be adding more pedals to the board in the future!
Step 3: Handles
Once you have the door handles in the desired place, drill them in (be careful not to strip the screws!! Depending on the wood the cutting board is made of, the screw may not go all the way in)
Step 4: Rubber Feet
Next, flip the board over and add the rubber feet. One in each corner should be enough. The rubber feet raise the board off the ground to make pressing the pedals easier, while also helping to keep the board from scratching the floor.
Step 5: Velcro
Take the Velcro and cut it into strips slightly less than the width of your board. Make sure to leave around two inches of space between each strip, repeating the process until you’ve reached the bottom of the board.
Take the remaining Velcro strip, and attaching it to the bottom of your pedals. You’ll not need a lot for this, 1-2 small strips should be enough.
Step 6: Attach and Rig It Up!
Lay out your pedals just like you did near the beginning. If it doesn’t work as you had initially hoped, then that’s what the velcro is for, as you can always move things around! Once you have everything where you want it, then plug it all up and give it a try, reconfigure your pedals to your likening.
FAQs
What’s The Purpose Of A DIY Pedalboard?
The benefit of making your own pedalboard from a cutting board is to place your pedals on it so you can quickly turn them on/off with your foot. This project is good for people who are just learning how to play the guitar or bass because they need to know about the different effects (like distortion or echo).
The process of making a pedalboard from a cutting board can be a fun and creative project, and it’s a great way to save money.
What Is The Design Of A DIY Pedalboard?
The good news is that the design is completely up to you! You can either make a simple design with no design or try putting on a cool pattern or design. It may be a good idea to label each pedal with the type of effect it has (like distortion, echo, etc).
Is It Difficult To Make A DIY Pedalboard From Cutting Board?
No, it’s not difficult at all! It would be considered to be an easy project.
The most important part of making the DIY pedalboard is to make sure that the jacks, power supply, and other bits are in the right place, and then attach the sides with wood glue and screws.
What Type Of Wood Should I Use For DIY Pedalboard?
Although you can use any type of wood that you want, it’s recommended to use hardwood like oak or maple. It’s important to make sure that the wood is thick enough (at least 1.5 inches) so that it’s strong enough and can support the weight of everything that the pedalboard will hold.
Conclusion
You can save a lot of money by making your own pedalboard! It’ll probably be cheaper than buying one from the music store. All you need is some basic tools and materials, which you should find at your local hardware store.
